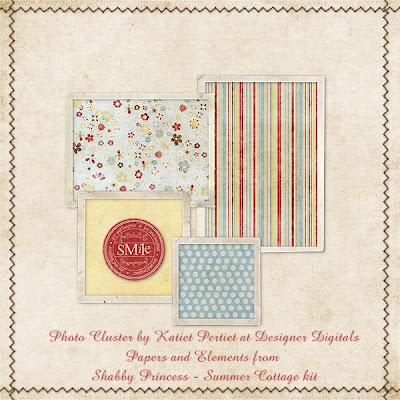
Designer Digitals is having a twenty-five cent sale on Katie Pertiet's Photo Cluster No. 07. I will be using the first one to demonstrate how to use Photo Clusters in FotoFusion.
Editing to say that if you missed the sale at designer digitals Molly and Max has a freebie photo cluster that you can use to play around with this concept. Just an FYI...Designer Digitals has twenty-five cents off sales each week. You can sign up for their newsletter if you want to be reminded.
1. First set your page up in FotoFusion. I am creating a 12x12 collage. I like to add a .125 Safe Inset so that nothing important gets cut off in printing.

2. Bring the photo cluster into FotoFusion. There are various ways to bring items into FotoFusion. I just open the folder that has the cluster and drag it onto the canvas.

3. Next we want to protect the cluster so that it doesn't move around when you start adding in your photos. Click on "Tools" in the top menu bar, select "Layers" then check the "Protect" box.

4. The next step is to create the frames that we are going to add our photos to. Holding the "F" key and using one of the frames in the cluster, draw out a frame in the size you want. Turn off the border and the shadow on the frame. Repeat this step for all the frames in the cluster.
 5. Next add your photos to each of the frames that you created. For this example I am using papers in the frames because I am not at a computer that has my photos. You should be able to just drop your photo directly into the frame.
6. Some of your photos may not be layered properly. Review each individual frame in the cluster and note what is not layered properly.

7. Right click on any layer that you want to move and select the appropriate command. (Send to back, send to front, bring forward, send backward). Sometimes this is just trial and error.

8. Add any other papers or embellishments and voilà your layout is complete.

1 comment:
Thank you for the wonderful tutorial on the photo clusters, this is extremely helpful. Bless you for writing this.
Post a Comment